


I know there are a lot of tutorials out there for carseat canopies but I thought
I'd jump on in and share with y'all how I make mine.
This is a photo heavy tutorial, but really by the end of it you're going to be
shocked at how simple these are to make.
It's my go-to baby shower gift now.
On Etsy these babies are selling for sometimes more than $60!
Sheesh!
What you will need:
1 yard of fabric for the top
1 yard of fabric for the bottom
1 pack of Jumbo Rick Rack (2 1/2 yards)
Iron on velcro
2 buttons (optional)
Sandwhich your two yards of fabric (print sides facing in) together.
Cut the sandwich down to a
33"x42" rectangle.
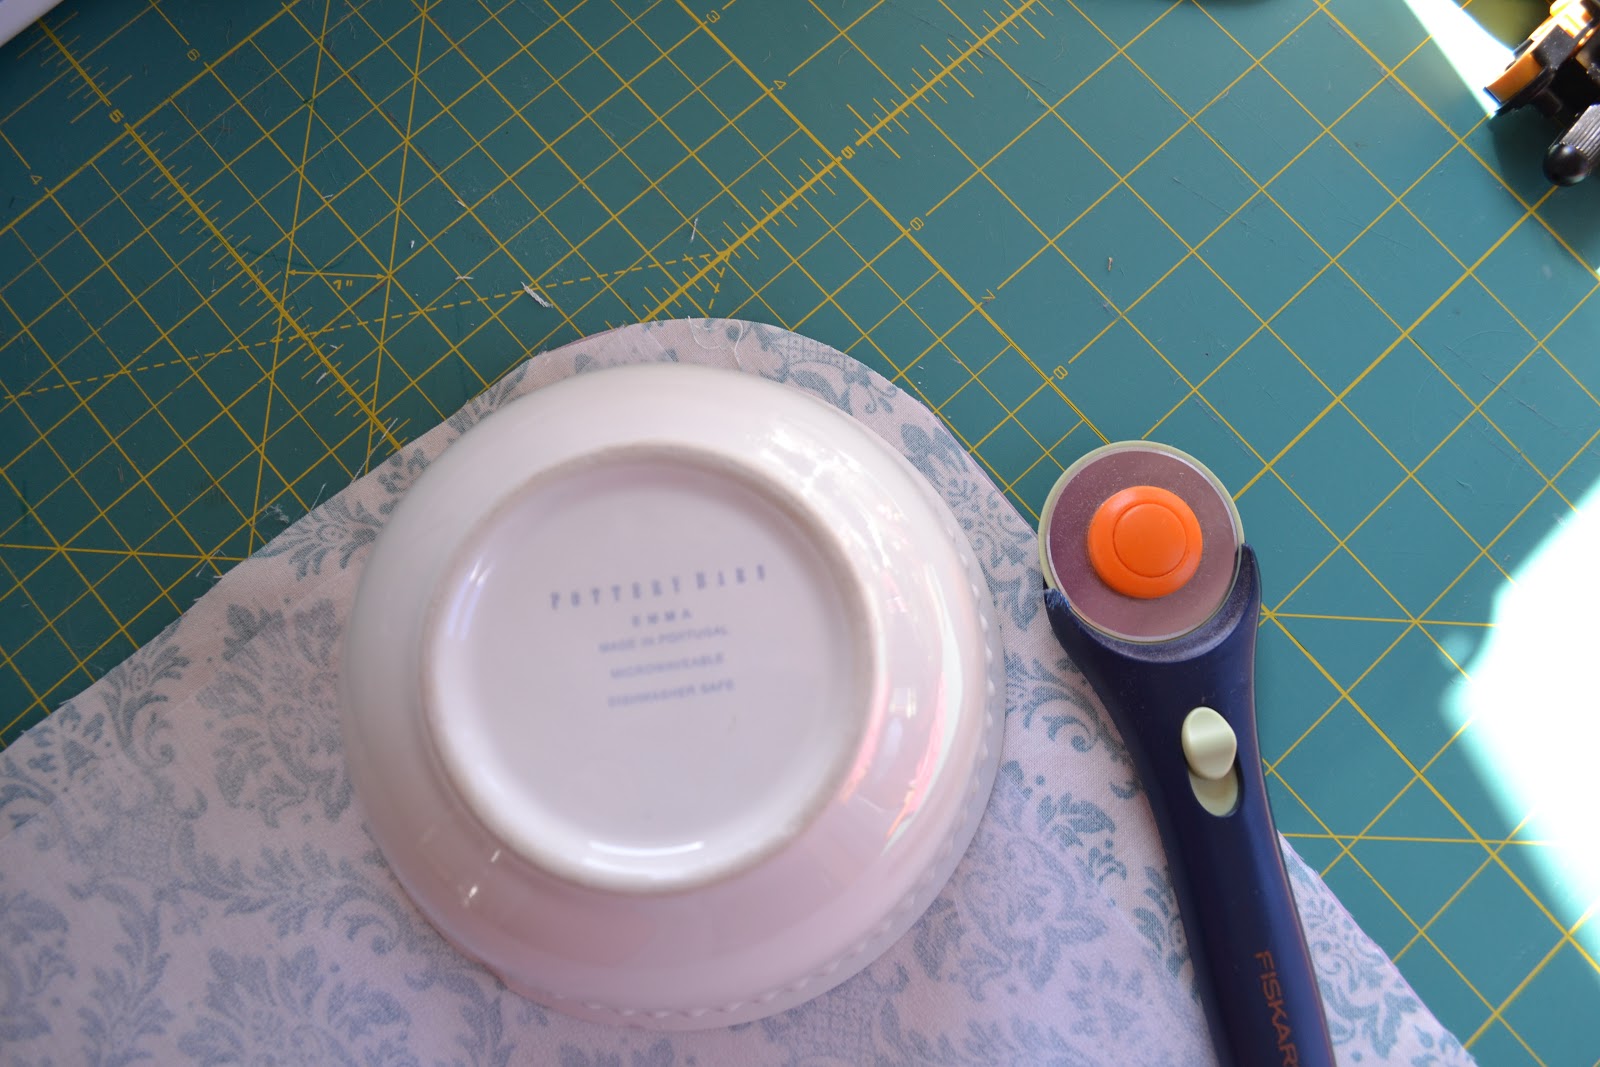
Using a bowl or a template of some sort, round the corners of the rectangle.
Pin the rick rack between the layers,
making sure that you can see one edge popping out.


Sew around the entire rectangle with a 1/4 inch seam allowance
leaving a small opening for turning the canapoy right side out.

Turn it right side out, iron and then stitch around the top edge with a 1/4 inch foot,
making the rick rack lay nice and flat and closing up the opening.


With the scrap you trimmed off at the beginning,
cut 4
8"x2 1/2" strips.

Sandwich the fabric (right sides together)
and sew with a 1/4inch seam allowance all the way around,
leaving a short side open for flipping.

Flip right side out, iron and then sew a top stitch around the
edges sealing your opening.

Attach your Velcro like you see in the pictures below.
then sew your decorative button onto the top of the top flap.


Lay your straps on top of the front of your canopy,
about 12 inches in from the sides and 17 inches down from the top.
It might be a good idea to lay it on top of your carseat and mark where
you would like the straps to go.

Sew a tight zigzag stitch across the middle and then another one on either side.

Put it on the car seat and admire your work!!


If you have any questions feel free to leave them in the comment section
and I'll answer them lickity split!
Happy Sewing!
Very nice and so practical!! Neat having the name stitched in to it.
ReplyDeletebeautiful...love your fabric and colors for Aubrey's :)
ReplyDeleteahhh just answered my own comment on your other post :-P hehe ... doing some catching up on blog reading ;)
ReplyDeleteLOVE this and the simple instructions you gave!!
our blog is very helpful. We want updates from your blog regularly. Thanks for Sharing. Carseat Canopy Promo Codes
ReplyDelete